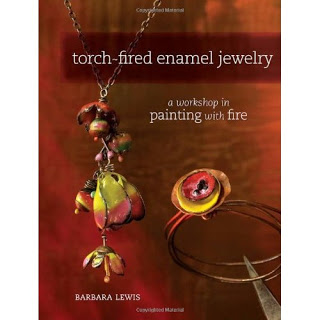
 I have learned lots of techniques within the scope of jewelrymaking: wirework, soldering, polymer clay, beading, resin, lampwork, PMC, the list goes on. There are certain things that just don’t interest me at all, and one of those has been enamel. Powdered glass melted onto the surface of metal, usually in a kiln. I skipped the Thompson Enamel booth at the last PMC Guild Conference. Call me a purist, but I like the neutrality (goes with everything) and polishability (is that a word) of silver by itself. I could bring color into a piece with beads, plus I didn’t care for the garishly bright enameled pieces I had seen. But last year Barbara Lewis published this book about torch-firing enamel, and she asked different jewelry bloggers to write what they really thought about the book and technique. We saw torch-enameled beads popping up all over the jewelry web, and many of them used a filigree base lightly coated with beautiful glass. My interest was piqued by Jen Judd’s necklace at the artBLISS* Meet & Greet. Beautiful enameled filigree beads in blues and greens. I had a tough time making eye contact instead of staring at the necklace. So I bought a torch-fired enamel kit. After all, I already have (most of) a lampwork station and it works for both.
That was December. Today it is the second week of March and we’re having 80-degree weather, so during naptime I decided to try torch enameling out in the garage with my “big” butane torch, the one that melts silver way too fast. I figured I’d see if I liked it before spending my free time trying to get my propane tank and lampwork torch to talk to each other. I skimmed the tutorial, lit my torch, unscrewed the cap on an enamel jar, jabbed a few beads, and went at it.
I know you’re not supposed to use enamel straight from the jar. You are also not supposed to eat peanut butter straight from the jar. Don’t tell, ok?
*While I’m off topic I’d like to mention that artBLISS is happening again in Northern Virginia September 21-23, 2012. Registration opens soon, and you can sign up for the mailing list to get notified: http://artblissworkshops.com/
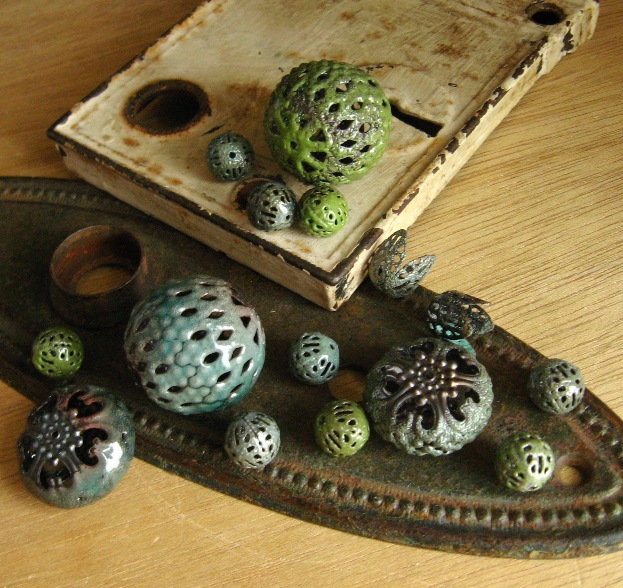
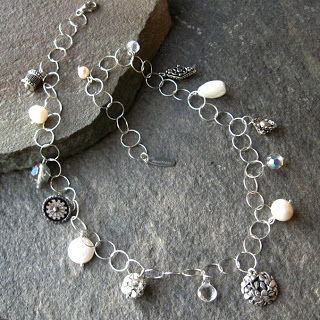
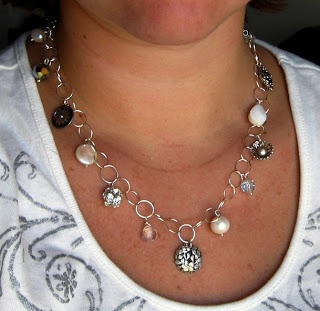
So anyway, aside from having to refill my butane I just kept heating and dunking beads. It was so fun and easy! And no kiln annealing like with lampwork; you can use your beads as soon as they’re cool. I only burnt myself twice. Ahem. Here is what I made today.
Now a Thompson Enamel booth would be like a candy store! Good thing I can mail-order from Barbara (Painting With Fire Artwear). If you’re interested in learning how to do this technique, check out Barbara’s blog with links to everything you need.

